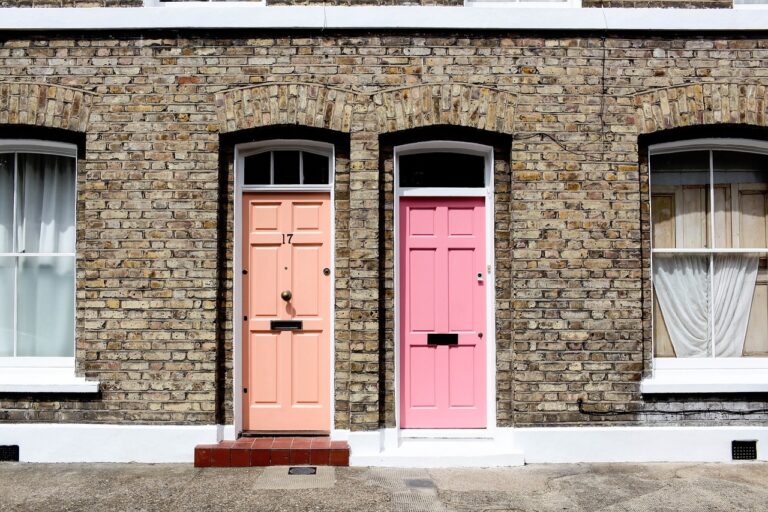
Revive Your Bathroom Vanity: Painting Techniques
diamond exchange, sky99exch com login, www.reddy book.club login: Revive Your Bathroom Vanity: Painting Techniques
Are you tired of looking at your outdated bathroom vanity every day? Do you want to give it a fresh new look without spending a fortune on a complete overhaul? Well, you’re in luck because painting your bathroom vanity is a great way to breathe new life into your space without breaking the bank. In this article, we’ll discuss various painting techniques that you can use to revive your bathroom vanity and give it a whole new look.
Before we dive into the painting techniques, it’s important to make sure you have all the necessary supplies on hand. You’ll need items such as primer, paint, paintbrushes, sandpaper, and a drop cloth to protect your floors from any drips or spills. Once you have everything you need, it’s time to get started on transforming your bathroom vanity.
Preparation is key when it comes to painting your bathroom vanity. Start by removing all hardware such as handles and knobs, and give the surfaces a thorough cleaning with a mild detergent to remove any dirt and grime. Next, lightly sand the vanity to create a smooth surface for the paint to adhere to. Make sure to wipe away any dust with a tack cloth before moving on to the next step.
Now it’s time to apply a coat of primer to the vanity. Primer helps to seal the surface and create a smooth base for the paint to adhere to. Use a high-quality primer that is suitable for the type of surface you are painting. Let the primer dry completely before moving on to the next step.
Once the primer has dried, it’s time to apply the paint. You can choose from a variety of paint finishes such as matte, satin, or gloss, depending on the look you are going for. Use a high-quality paintbrush to apply the paint in even strokes, making sure to cover the entire surface of the vanity. You may need to apply multiple coats of paint to achieve the desired coverage and finish.
If you want to add a decorative touch to your bathroom vanity, consider using a stencil or painter’s tape to create a design or pattern on the surface. You can also experiment with different paint colors to create a custom look that reflects your personal style.
Once the paint has dried completely, it’s time to reattach the hardware and put the finishing touches on your newly painted bathroom vanity. Stand back and admire your handiwork you’ve successfully revived your bathroom vanity and given it a fresh new look without spending a fortune.
In conclusion, painting your bathroom vanity is a cost-effective way to update your space and give it a whole new look. By following the painting techniques outlined in this article, you can transform your outdated vanity into a stylish focal point in your bathroom. So gather your supplies, roll up your sleeves, and get ready to breathe new life into your bathroom vanity with a fresh coat of paint.
FAQs:
Q: How long does it take to paint a bathroom vanity?
A: The time it takes to paint a bathroom vanity will depend on factors such as the size of the vanity, the number of coats of paint required, and the drying time between coats. On average, you can expect the painting process to take a few days to complete.
Q: Can I paint over a dark-colored vanity with a lighter color?
A: Yes, you can paint over a dark-colored vanity with a lighter color, but you may need to apply multiple coats of paint to achieve full coverage. Using a primer can also help to create a smooth base for the lighter paint color to adhere to.
Q: Do I need to seal the painted vanity?
A: It’s not necessary to seal a painted vanity, but you can apply a clear coat of polyurethane or varnish to protect the surface from moisture and wear over time. Make sure to use a product that is suitable for painted surfaces to ensure the best results.